

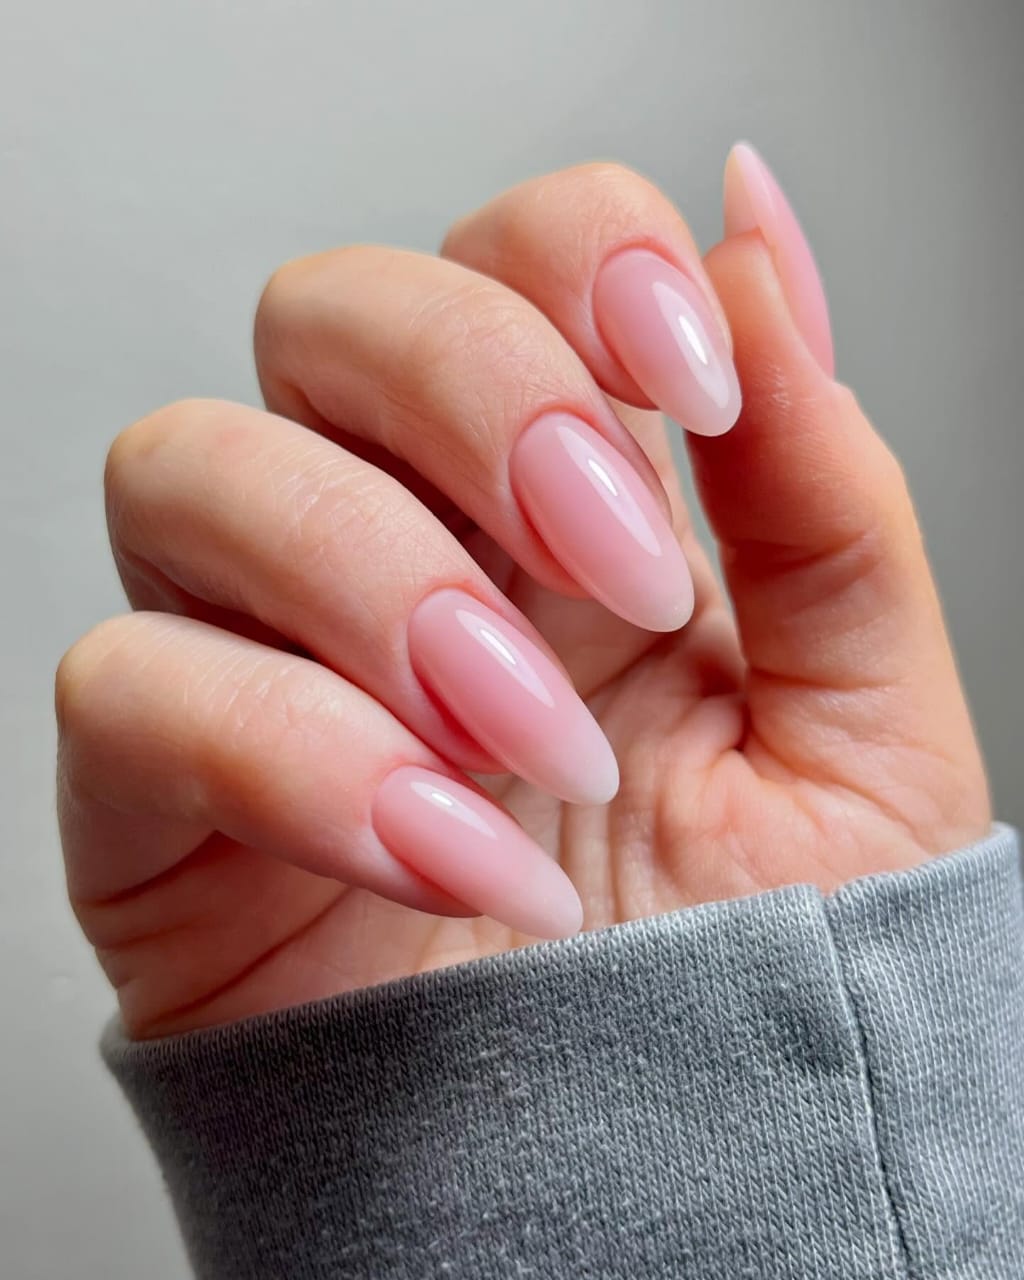
A good gel manicure is basically a confidence boost in polish form—glossy, unbothered, and quietly saying, “I have my life together.” Whether it’s a soft pastel pink or a bold chrome finish, gel nails deliver that flawless, weeks-long perfection that somehow survives everything except your patience once it starts to chip. That’s usually when things take a turn.
You catch yourself picking at the edge, convincing yourself it’s “just a tiny peel.” Minutes later, your natural nail is shredded and paper-thin. We’ve all been there. The truth is, while gel manicures are loved for their durability and shine, removing them the wrong way can cause serious damage.

The good news? You don’t need pricey salon visits or complicated tools to protect your nails. What you do need is the right technique—one that’s safe, slow, and gentle. Learning how to remove gel nail polish properly is the difference between healthy, happy nails and weeks of recovery.
Here’s how to remove gel nail polish at home like a pro…
Step 1: Buff off the shine

Start with a nail file and gently buff the surface of each nail. The goal isn’t to grind your nails down; it’s simply to remove that glossy topcoat that locks the polish in place. Think of it as opening the door for the acetone to do its job later.
Move the file lightly over the surface until the shine fades and your nails look slightly dull or chalky. That’s your cue that you’ve prepped them perfectly. It might seem like a small, even skippable step, but don’t underestimate it. Buffing properly makes the entire gel removal process smoother and far more effective.
Step 2: Prep your digits
Before you reach for the acetone, protect your skin and cuticles. Acetone works quickly, but it can leave your fingers dry and tight. To prevent this, rub a small amount of petroleum jelly or cuticle oil around each nail bed. This barrier locks in moisture while still allowing the remover to do its job. Think of it as skincare for your nails—a little prep now saves a lot of damage and regret later.
Step 3: Soak without the mess
Cut small squares of cotton and soak them in acetone until damp but not dripping. Place one on each nail, then wrap your fingertips in aluminum foil to keep them secure.
It might feel like a DIY science experiment, but trust the process. The foil traps heat, helping the acetone soften the gel more efficiently. Leave them on for about 10 to 15 minutes. While you wait, put on a playlist, sip a drink, or scroll TikTok—this is your perfect “do nothing” moment. Just let the acetone do the work.
Step 4: Gently remove the gel
When time’s up, unwrap one nail first to check. If the gel polish looks puffy or begins to lift on its own, it’s ready. Then, use an orangewood stick or cuticle pusher to remove it—gently.
The keyword here is gently. Avoid scraping or prying, which can damage the nail surface. If the polish feels stubborn, simply rewrap the nail for another five minutes rather than forcing it. Trying to peel off leftover gel is one of the quickest ways to weaken your nails. With patience, you’ll get smoother, healthier results and preserve your nail’s natural strength.
Step 5: Treat your nails like skin
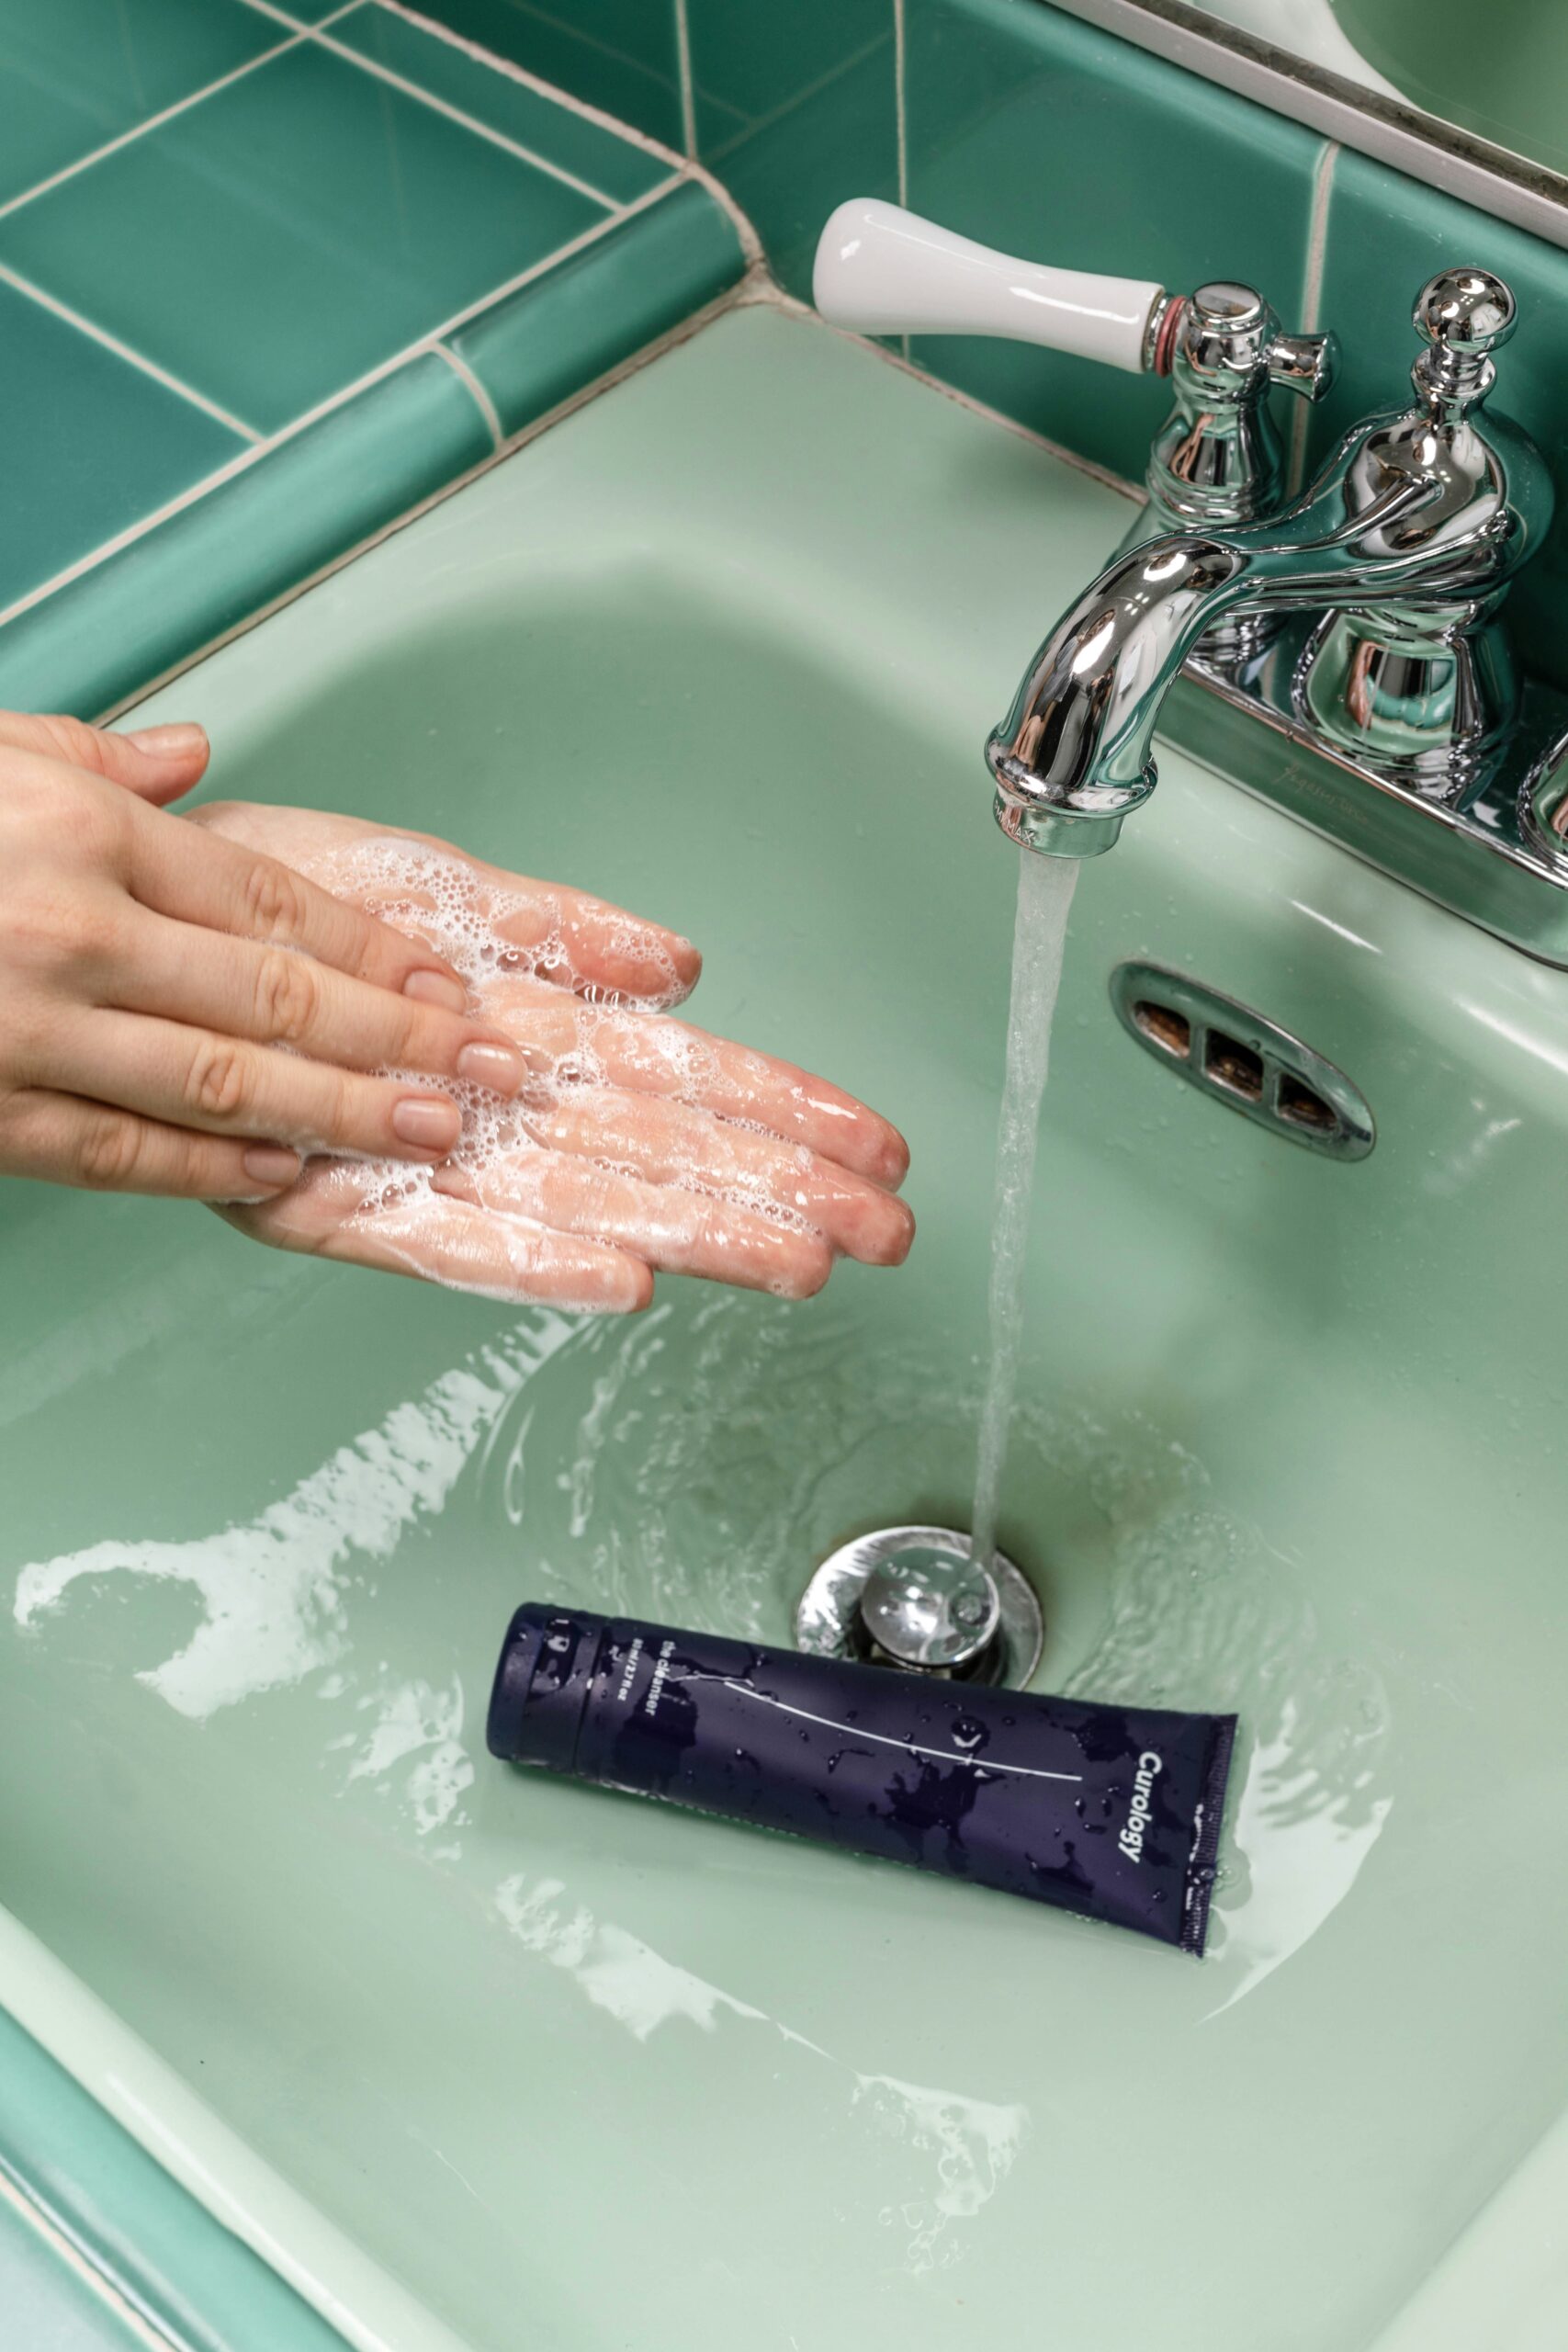
Once all the gel polish is removed, wash your hands with mild soap and warm water to eliminate any lingering acetone. Next, moisturize thoroughly. This step is essential. Massage cuticle oil into your nail beds and follow with a rich hand cream.
Remember, your nails just endured a chemical soak, so give them time to recover. If they feel dry or brittle, apply a nail-strengthening serum or clear treatment polish to restore flexibility and shine. Think of this stage as the “masking” phase of your nail routine. It’s where the real healing happens, and your nails regain their strength and glow.
Step 6: Keep them serving

Healthy nails don’t happen by accident. After removing gel polish, allow your nails a break before reapplying. Even just a few days of breathing space can make a noticeable difference. Always use a base coat next time—it prevents staining and makes future removal much easier.
Additionally, avoid metal scrapers, which can be too harsh on your nail surface, and keep your cuticles hydrated daily. These small, consistent habits protect your nails, keeping them strong, smooth, and ready for your next flawless manicure.
Conclusion
Gel polish is a total beauty game-changer, but it’s not magic—it demands care and attention. The key is to treat your natural nails with as much respect as you do the color on top. Removing gel properly may take a few extra minutes, but the payoff is worth every second.
The difference between brittle, peeling nails and smooth, healthy ones often comes down to ten extra minutes of mindful care. So, next time your gel starts to lift, resist the urge to peel it off. Instead, wrap, soak, and pamper. After all, nails that look flawless even bare? That’s the ultimate glow-up!
Featured image: @esvynails/Instagram
For the latest in fashion, lifestyle, and culture, follow us on Instagram @StyleRave
—Read also

