Now that we’ve been “outside” for a while, a ton of us have our calendars booked with engagement after engagement. From regulars like business runs to church services (if you’re the religious type), to special occasions like weddings and birthday celebrations, there’s more than enough reason to show up and show out. Consequently, an important factor is always to look your best and this includes your outfit, hairstyle, makeup, and manicure. But with so much going on, it sometimes gets hard to keep up. So how do you switch up your nail art every other week without incurring the cost of regularly visiting the nail salon?
The first answer is stick-on nails. My gawd, aren’t those little friends a real lifesaver? They come in a variety of options, are easy to use, and are absolutely convenient. However, if stick-on nails aren’t really your thing, then the second answer may just be what you’re looking for, especially if you have a DIY bone (or two) in your body. That’s right, you can DIY your way to one beautiful nail art after another.
Of course, this guide is by no means trying to replace your manicurist. We really do need them. It’s simply a creative girl’s guide to a handful of beautiful, trendy, and easy ideas for nail art she can try from the comfort of her home. While, at first glance, some may appear difficult, they aren’t. With a few tips and tools, you too can experiment with these creative nail art ideas and get a result you’ll be pleased with. Care to explore?
Check out 9 super cute and trendy ideas for nail art you should try…
#1. Rainbow drops
View this post on Instagram
If you’re into the rainbow nails trend and are looking for an interesting way to join the train, then this has your name written all over it. Select a few of your favorite brightly-colored nail polishes, the brighter the better. Next, paint your nails with a solid color as usual and allow them to dry. Once dried, follow each nail with a drop of contrasting color. Easy peasy.
#2. Embellished flutter
View this post on Instagram
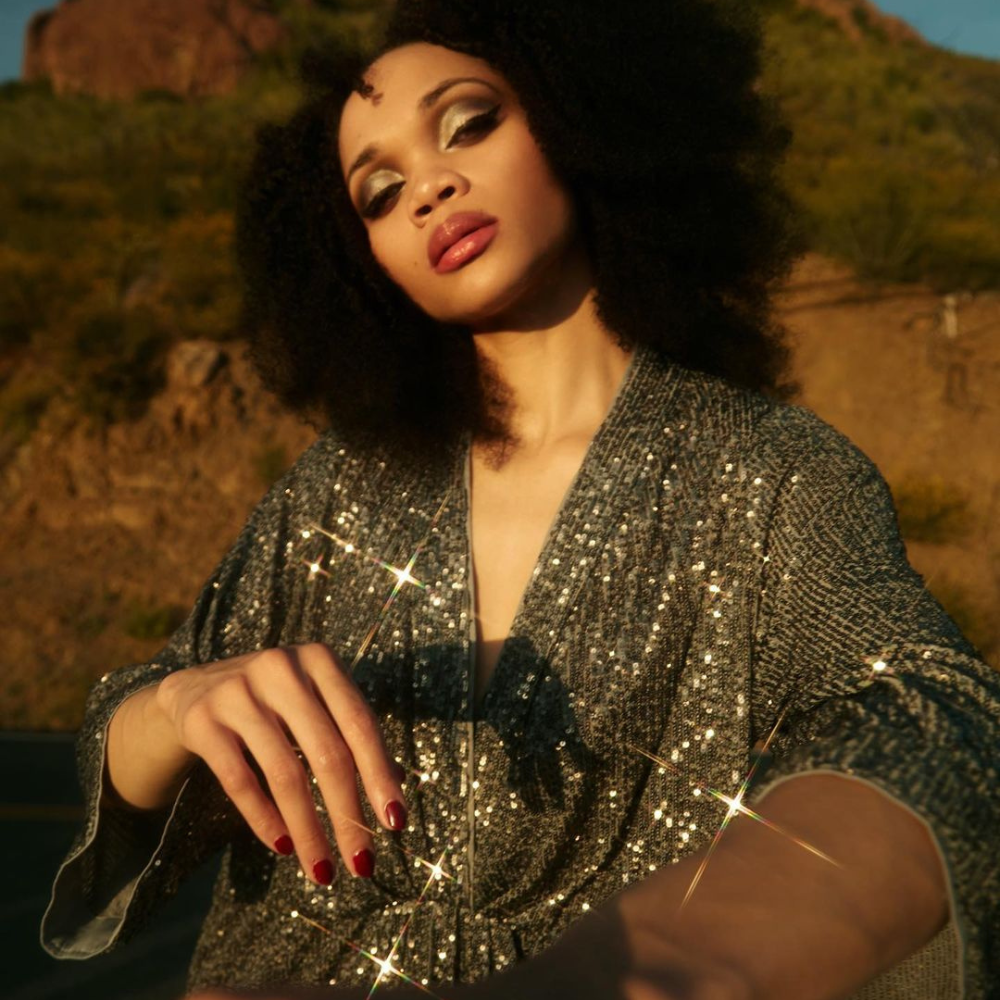
Should you already have your nail extensions on and are merely looking to give it a facelift, look no further. The embellished flutter nail art marries the cuteness of butterflies with the bling of embellishments. Paint your nails as usual or in a french manicure style (see below). Before the polish dries, follow with your choice of colored glitter and butterfly cut-out details. Then finish off with clear nail polish to hold the details in place as well as add shine to the bling.
#3. Dainty blush
View this post on Instagram
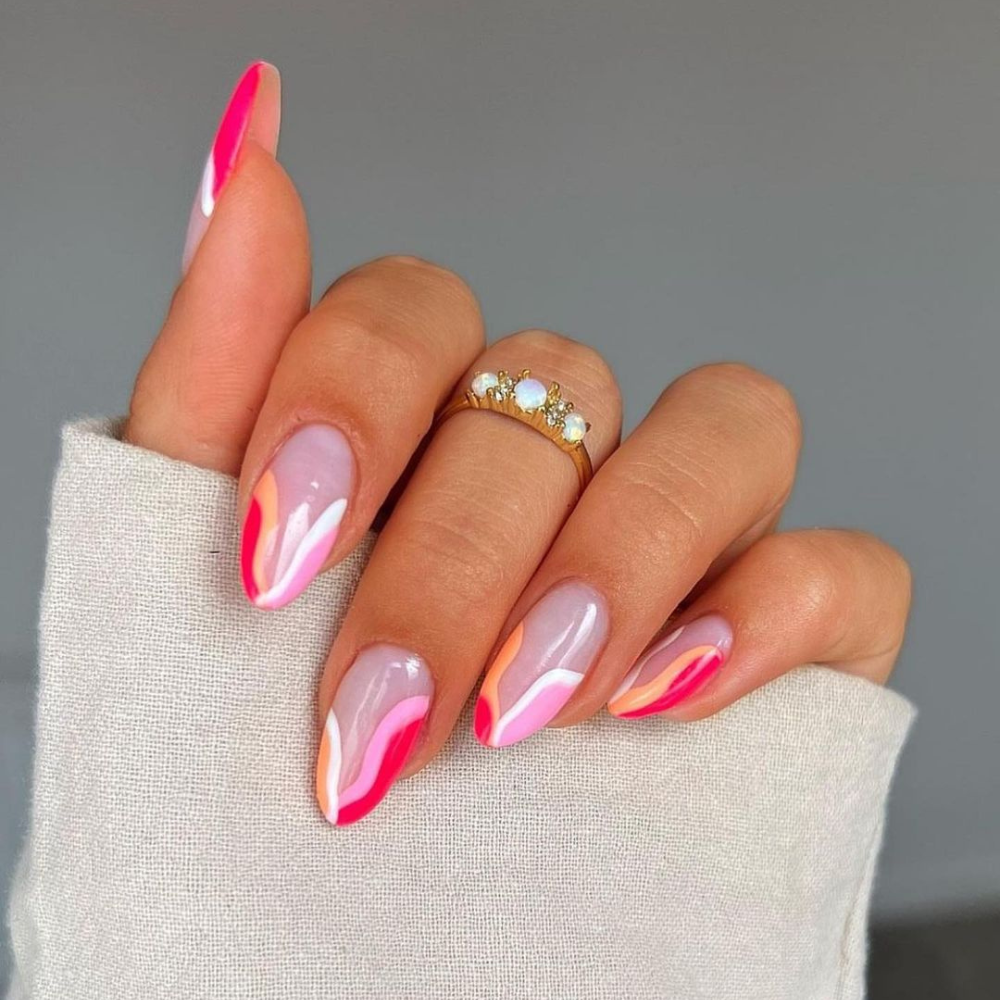
Creative and easy are some of the words that best describe this dainty blush idea for nail art. For this, you will need solid color nail polish (preferably a bright color), clear nail polish with glitters, white polish, and black nail polish. You will also need polish brushes with different point sizes. Paint four of your five fingernails with the solid color polish, in this case, pink. Next, use a clear polish on the “unpainted” fingernail. Follow that with a light stroke of the pink nail polish to the outer sides of the nail. Then, use your white nail polish in the same manner next to the pink strokes. Finally, a stroke of clear glitter polish should be the center of the party. Once dried, a simple tool like a toothpick can be dipped into the black nail polish and used to create spots on one part of the white stroke.
#4. Cloud covering
View this post on Instagram
Bright clouds characterize summer, so let your nails reflect that this season with two shades of blue nail polish. First, use the darker shade of blue to create the classic french manicure (see below) and use a cloud-like nail stencil to emboss the outline on the sides of your nails using the brighter blue shade.
#5. Pink steps
View this post on Instagram
Summer is the season of bright colors, so let’s go bright in pink. This is one of the simplest ideas for nail art any DIY girl will love. Choose two shades of pink nail polish (or any color of your liking) and paint three fingernails with a single color. On the “unpainted” fingernails, use the darker shade of pink to create two french manicure details with a twist — leaving a negative space between each.
#6. Orangey wiggle
View this post on Instagram
Does this look difficult? Well, it’s easier than you think. Take two shades of a single nail color, perhaps, orange and let’s get to work. Paint three fingernails with the polish, omitting two fingernails for the design. Next, use a tool like a tiny-point brush to draw an S detail using each of the colors. Finish off with clear nail polish to tie it all nicely together.
#7. Color block
View this post on Instagram
Pairing pink with yellow is a good idea when it comes to color-blocking ideas for nail art. As with some nail art designs on this list, begin by polishing three fingernails, omitting two. Paint the omitted two with nude nail polish to serve as a subtle base for the color-blocking. Next, divide the tip of your nails into two parts and paint one half in a diagonal style using one color. Then, follow the same pattern on the second half using the other color.
#8. French manicure
View this post on Instagram
Classic, trusted, and beloved the french manicure is instantly recognizable. But did you know it’s super easy to achieve? Learn how to do french manicures at home below.
Watch: How to do a French manicure
#9. Colorful wiggly
View this post on Instagram
Whether with a stencil or fine point brush, anyone can achieve this nail art. If you have a few artistic bones in you, you can opt for a finely-pointed brush to draw the outline of the wiggly shape and then fill in with your color of choice. On the other hand, if drawing just isn’t your thing, then a stencil of the shape of choice should work as well. The entire nails should get a good base of clear nail polish and the color party should flank on both sides.
Wanna be more adventurous? You can even combine two or more designs to start your own trend. Which of these nail art ideas are you trying soon?
For the latest in fashion, lifestyle and culture, follow us on Instagram @StyleRave_
This is a Style Rave original content exclusively created for our readers. If reproduced, distributed, transmitted, cached, or otherwise used by any other publishing house or blogs, such use should provide a direct link to this source article. Use of and/or registration on any portion of this site constitutes acceptance of our Terms & Conditions and Privacy Policy.
—Read also