



If you want to build stronger glutes, the hip thrust is one exercise worth learning properly. It looks straightforward, but the difference between simply moving your hips up and down and performing a controlled hip thrust comes down to setup, positioning, and how you finish each repetition. Good form helps you get more from the movement while keeping unnecessary strain away from your lower back.
For beginners, the exercise can feel awkward at first. You have to find the right bench height, place your feet correctly, brace your core, and coordinate your hips without letting your knees collapse inward or your back take over. Once those details start to click, however, the movement becomes much more natural.
The hip thrust is also easy to adapt as you get stronger. You can start with your body weight, learn to control every repetition, and eventually add a dumbbell, resistance band, or barbell. That makes it useful for beginners building a foundation and experienced lifters looking for a reliable glute exercise. Before you add more weight or chase higher repetitions, focus on mastering the movement itself.
What Is a Hip Thrust?
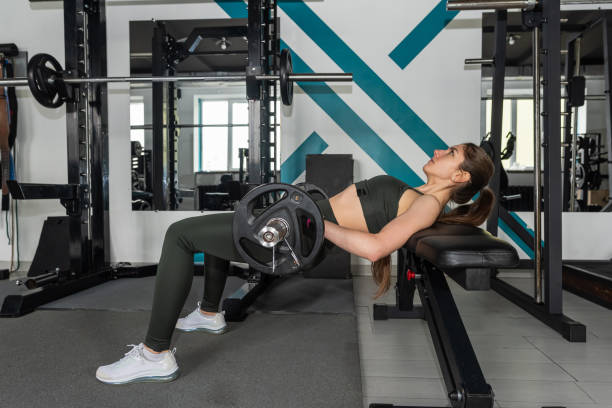
A hip thrust is a lower-body exercise performed with your upper back supported on a bench or other stable, elevated surface. Bend your knees, place your feet on the floor, and drive your hips upward before lowering them with control. The exercise primarily targets the gluteus maximus, the largest muscle in the glutes. Your hamstrings and other muscles around the hips and core also contribute to the movement.
Check out how to set up, perform, and progress the hip thrust while keeping your form controlled…
#1. Set Up Against a Stable Bench
Sit on the floor with your upper back against the edge of a sturdy bench. Position the bench so its edge sits around your mid-back or just below your shoulder blades in the starting position. Keep your feet flat on the floor with your knees bent. Start with your feet around hip-width apart and adjust them slightly if needed to find a comfortable position.
Your bench should be stable enough that it does not shift as you move. Before beginning your set, check that you have enough room to extend your hips without the bench moving beneath you. A secure setup makes it much easier to concentrate on the movement rather than adjusting your position halfway through a set.
#2. Brace Your Core
Before lifting your hips, gently brace your core. Keep your ribs from flaring upward and maintain a controlled position through your torso. Your head and neck should remain comfortable throughout the movement. Avoid throwing your head backward as you lift.
Think about keeping your torso steady while your hips do the work. You do not need to tense every muscle in your body; the goal is simply to create enough stability through your midsection to prevent your lower back from taking over.
#3. Drive Your Hips Up
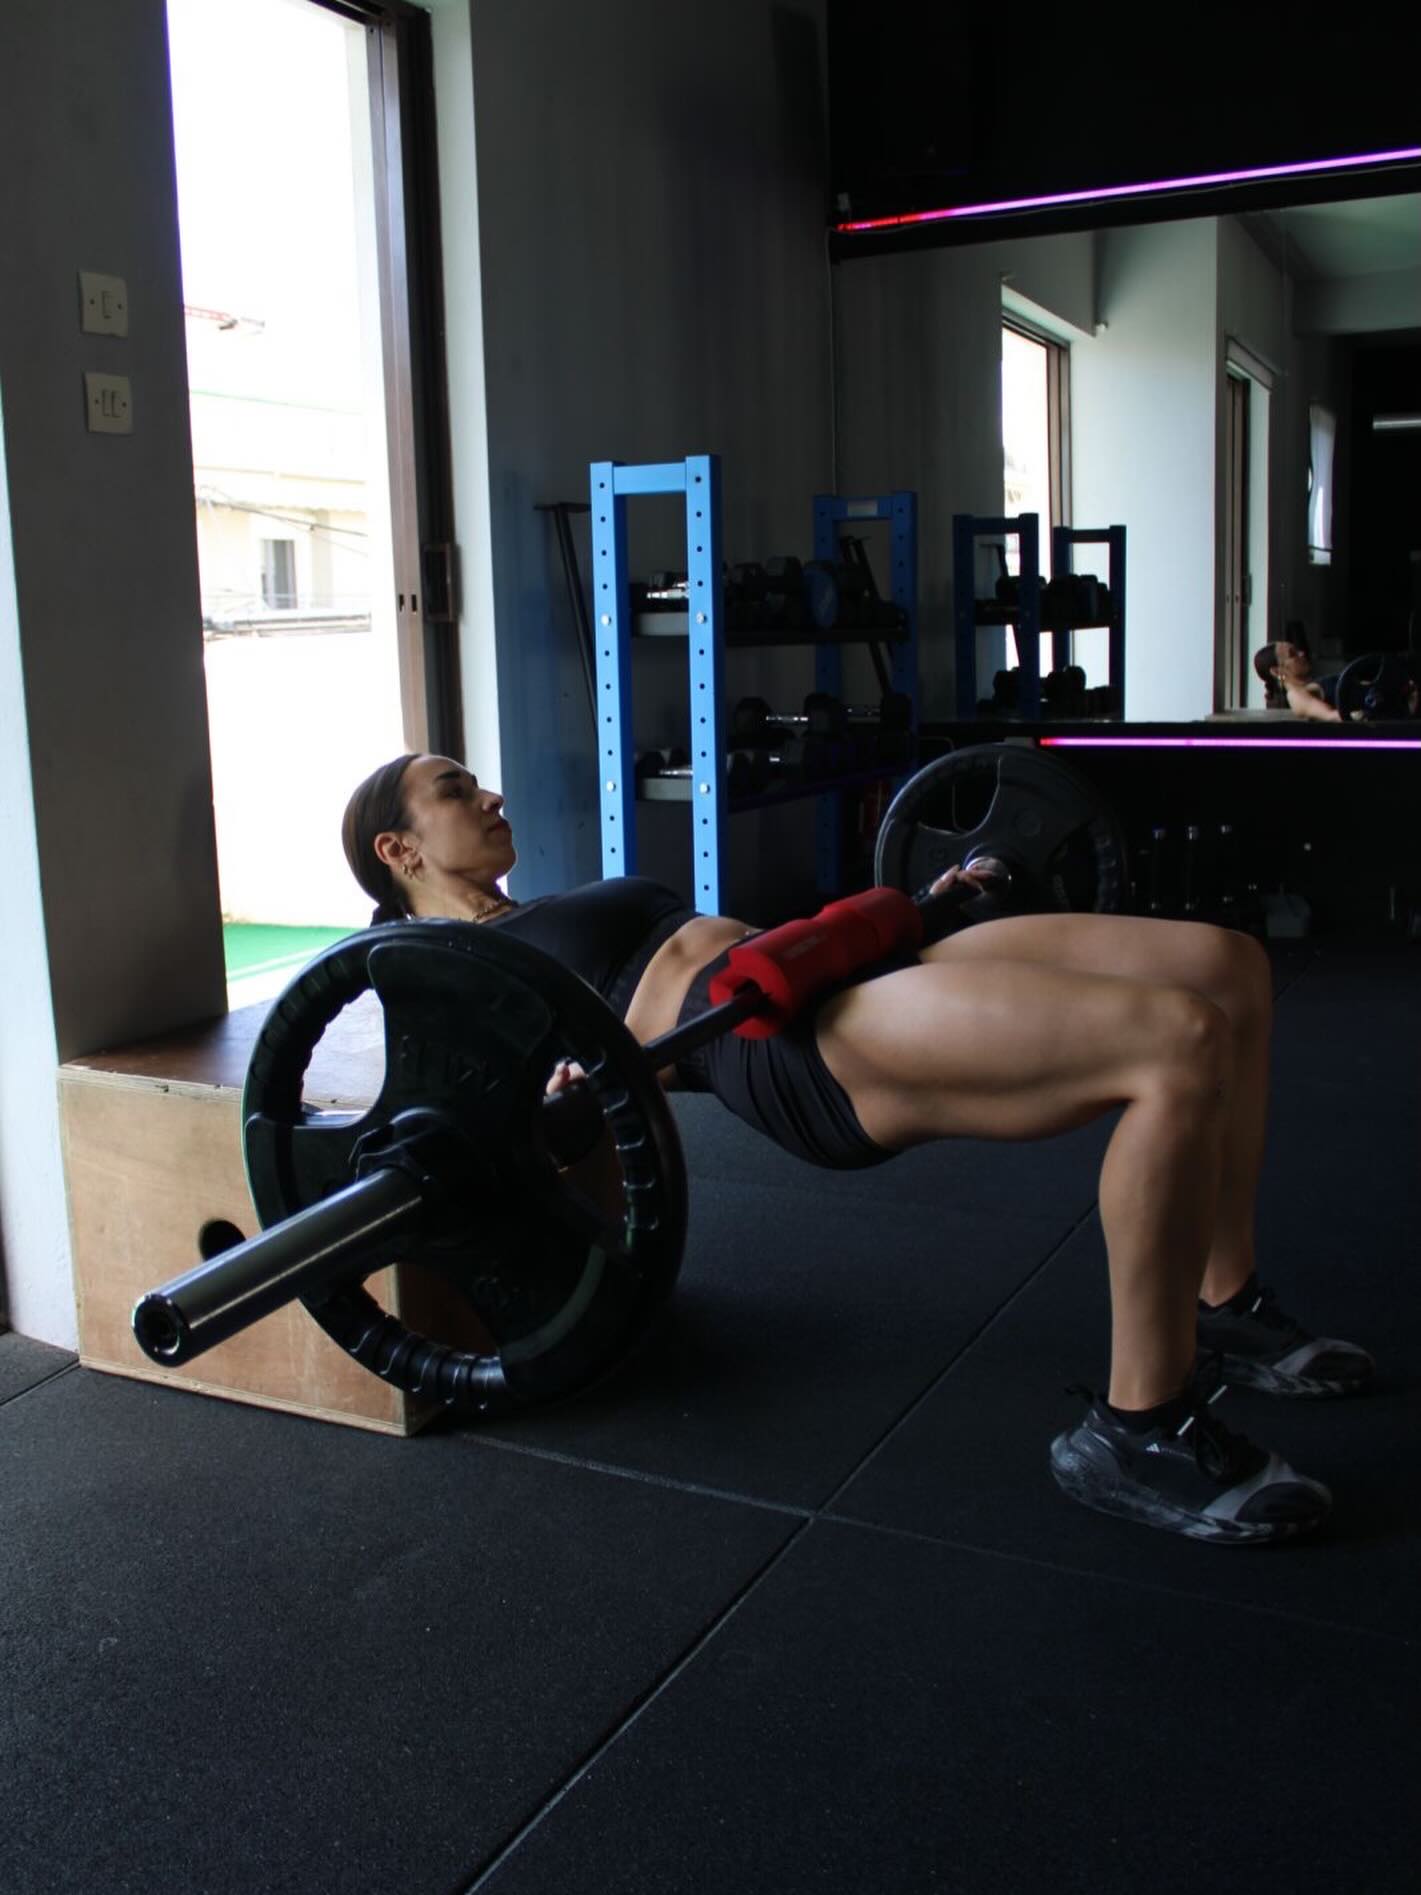
Press your feet firmly into the floor and squeeze your glutes as you raise your hips toward the ceiling. Your shoulders should remain supported by the bench while your torso and thighs move toward a roughly straight line at the top.
Keep your knees tracking in the same general direction as your toes rather than allowing them to collapse inward. Your feet should remain planted throughout the movement, and your weight should stay balanced across the whole foot.
#4. Pause and Squeeze
At the top, squeeze your glutes rather than trying to push your hips as high as physically possible. Keep your chin slightly tucked and your ribs controlled. You should notice the contraction primarily through your glutes rather than your lower back.
A brief pause at the top can also help you avoid rushing through the repetition. Instead of immediately dropping back down, take a moment to establish the top position, then begin the lowering phase.
#5. Lower With Control
Slowly lower your hips back toward the floor while maintaining control of the movement. Do not simply drop your hips after reaching the top. A controlled lowering phase keeps the exercise deliberate and makes it easier to maintain your position throughout each repetition.
You do not have to lower at an extremely slow pace, but avoid letting gravity do all the work. Maintain the same general foot and torso position as you return to the starting point, then repeat.
How to Know Your Form Is Right

A well-performed hip thrust should have your glutes doing most of the work. Your knees should remain relatively stable rather than collapsing inward, and your feet should stay firmly planted. At the top of the movement, avoid creating an exaggerated arch in your lower back just to lift your hips higher. The goal is a strong glute contraction, not maximum height.
Your torso and thighs should come together into a relatively straight line at the top without forcing the hips beyond a comfortable range of motion. If you have to dramatically arch your back to reach that position, you may be lifting farther than necessary.
If you consistently notice the exercise mostly in your lower back or hamstrings, check your foot position, core control, and range of motion. Small adjustments can make a significant difference, so experiment with your stance rather than assuming you need to add more weight.
Common Hip Thrust Mistakes to Avoid
- Overarching Your Lower Back: One of the most common mistakes is using the lower back to create extra height. Keep your ribs controlled and focus on finishing the movement with your glutes.
- Placing Your Feet Too Far Away: If your feet are positioned too far from your body, you may notice more work through your hamstrings. Bring them closer and experiment until you find a position where your glutes are doing most of the work.
- Pushing Through Your Toes: Keep your entire foot grounded and drive through the floor. You do not need to lift your heels or push aggressively through your toes.
- Using Too Much Weight: Adding weight before you have mastered the movement can make it harder to maintain good form. Start with your body weight and gradually increase resistance as your technique becomes consistent.
- Moving Too Quickly: Fast repetitions can make it easier to lose your position. Lift deliberately, pause briefly at the top, and lower your hips under control.
- Letting Your Knees Collapse Inward: Your knees should generally track in the same direction as your toes. If they repeatedly fall inward as you lift, reduce the resistance and focus on establishing a stable stance.
How Many Hip Thrusts Should Beginners Do?
If you are learning the exercise, start with 2 to 3 sets of 8 to 12 repetitions using your body weight or light resistance. Focus on consistent technique rather than trying to reach a particular weight. Once you can complete your sets comfortably with good form, you can gradually increase the resistance.
You can also use the first few sessions to experiment with your foot placement and bench position. Rather than chasing a specific number of repetitions, pay attention to whether you can maintain the same setup from the first rep to the last. A trainer or qualified fitness professional can also help you adjust your setup and technique to your individual needs.
Make Every Hip Thrust Count

Hip thrusts don’t need to be complicated to be effective. Start with a stable setup, keep your core controlled, drive through your feet, and focus on squeezing your glutes at the top. For beginners, mastering those fundamentals matters far more than loading up a heavy bar.
Once the bodyweight version feels comfortable, you can introduce resistance with a dumbbell, resistance band, or barbell. Add weight gradually and keep the same controlled movement pattern. You should still be able to brace your core, keep your feet planted, and squeeze your glutes at the top without compensating with your lower back.
As the exercise becomes more familiar, consistency matters more than constantly making it harder. Build your strength gradually, keep your technique reliable, and increase resistance only when you can maintain the same solid setup throughout the entire set.
Shop editor’s picks
Featured image: Gabrielle Durant/Pexels