


Clip-in hair extensions offer an easy way to add length, volume, or a little extra drama without committing to a full change. Learning to style your hair with extensions starts with understanding how to install each piece securely, since proper placement can mean the difference between a seamless result and clips showing through your hair. Fortunately, the process is manageable at home once you know how to prepare your hair, section it correctly, and blend the added strands with your own.
Clip-ins are especially useful for special occasions, busy mornings, and days when you want to switch up your usual hairstyle without visiting a salon. However, getting the best results requires more than attaching the clips and hoping they stay in place. Your natural hair needs a suitable base, the extensions must sit comfortably, and the added weight should be distributed evenly to avoid unnecessary tension on your roots. With a little practice, you can achieve fuller-looking hair while keeping your natural strands protected.
What You Need Before Installing Clip-In Hair Extensions
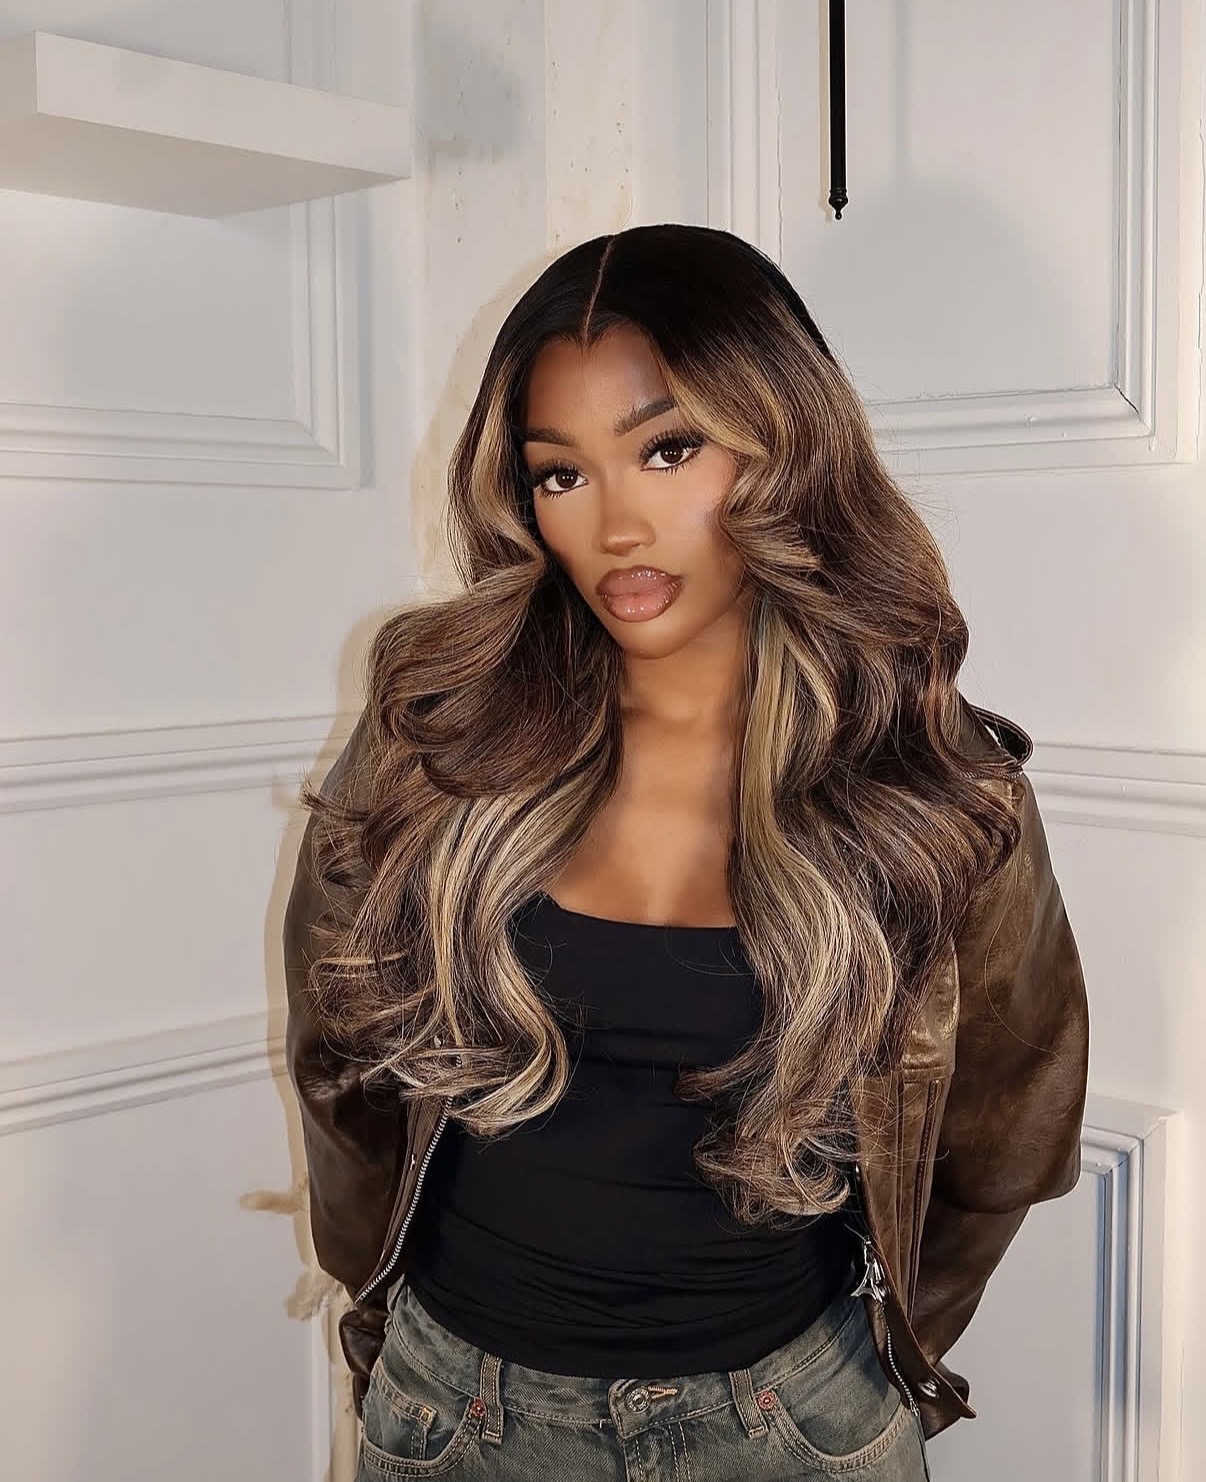
Before learning how to work with clip-in hair extensions, gather a wide-tooth comb, sectioning clips, a handheld mirror, and the extension set itself. A brush designed for your extension type can also help remove tangles without pulling at the strands.
Start with clean, dry hair that is free of heavy oils and slippery styling products. Although freshly washed hair is fine, make sure it is completely dry before installation, as damp roots can make the clips less secure. If your hair is very silky, a small amount of texturizing spray near the roots may improve grip, but avoid applying so much product that it creates buildup.
Next, check the extension color, length, and texture against your natural hair. A close match at the roots and through the mid-lengths usually creates a more cohesive result. If you wear your hair curly, choose extensions with a similar curl pattern or style both textures together so the added strands blend seamlessly with your own.
Shop editor’s edit
Step-by-Step Guide to Installing Clip-In Hair Extensions
#1. Detangle and Prepare Your Hair
Gently comb through your hair from the ends upward, removing knots before you begin. This makes sectioning easier and reduces the chance of pulling your hair when you open or close the clips. If you plan to curl or straighten your hair, apply a heat protectant before attaching the extensions, particularly if you are using human hair extensions. Synthetic hair may not tolerate heat, so check the manufacturer’s instructions before using heated styling tools.
Shop editor’s choice
#2. Create a Clean Horizontal Section
Use a comb to separate a thin section of hair at the nape of your neck, then clip the remaining hair out of the way. The first weft should sit low enough to remain hidden beneath your hair, but not so close to your hairline that the clips press against your scalp.
When considering how to install clip-in hair extensions for a comfortable fit, remember that placement matters just as much as grip. Avoid attaching clips directly over sensitive areas or positioning them so close to your roots that they pull when you move your head.
#3. Attach the First Weft
Open the clips on the weft and position the piece along the horizontal part you created. Secure the middle clip first, followed by the clips at either end, making sure each one grips your natural hair rather than resting loosely against your scalp. Give the weft a gentle tug to check that it is firmly in place, but do not pull hard enough to cause discomfort.
#4. Work Upward in Sections
Release another section of hair slightly above the first and repeat the process, adding wider wefts across areas where you want more volume. Keep enough natural hair above each row to cover the clips, and leave a little space between the wefts and your hairline. Continue toward the crown, using smaller pieces near the sides if needed.
For a seamless result, avoid stacking too many wefts in one area. Distributing the pieces across the back and sides helps the extensions blend more evenly and prevents any one section from carrying too much weight.
#5. Blend the Extensions With Your Hair
Once all the pieces are secure, release the remaining hair and gently brush through the lengths, starting at the ends. Use a curling iron or flat iron only if both your natural hair and extensions can safely withstand the selected temperature. For synthetic extensions, check the manufacturer’s heat guidelines first.
The best way to make clip-ins look natural is to blend the layers, not just conceal the clips. Soft curls, loose waves, or a gentle brush-through can help merge different lengths, while a small amount of lightweight serum on the ends can reduce the appearance of dryness. Keep heavy products away from the roots so the clips remain firmly in place.
Shop editor’s edit
#6. Check the Fit Before You Leave
Look at your hair from the front, back, and sides using a mirror. Bend your head gently, turn from side to side, and check for visible clips or sections that feel too tight. If a weft pulls, slips, or creates a tender spot, remove it and reposition it rather than trying to tolerate the discomfort.
Common Mistakes to Avoid
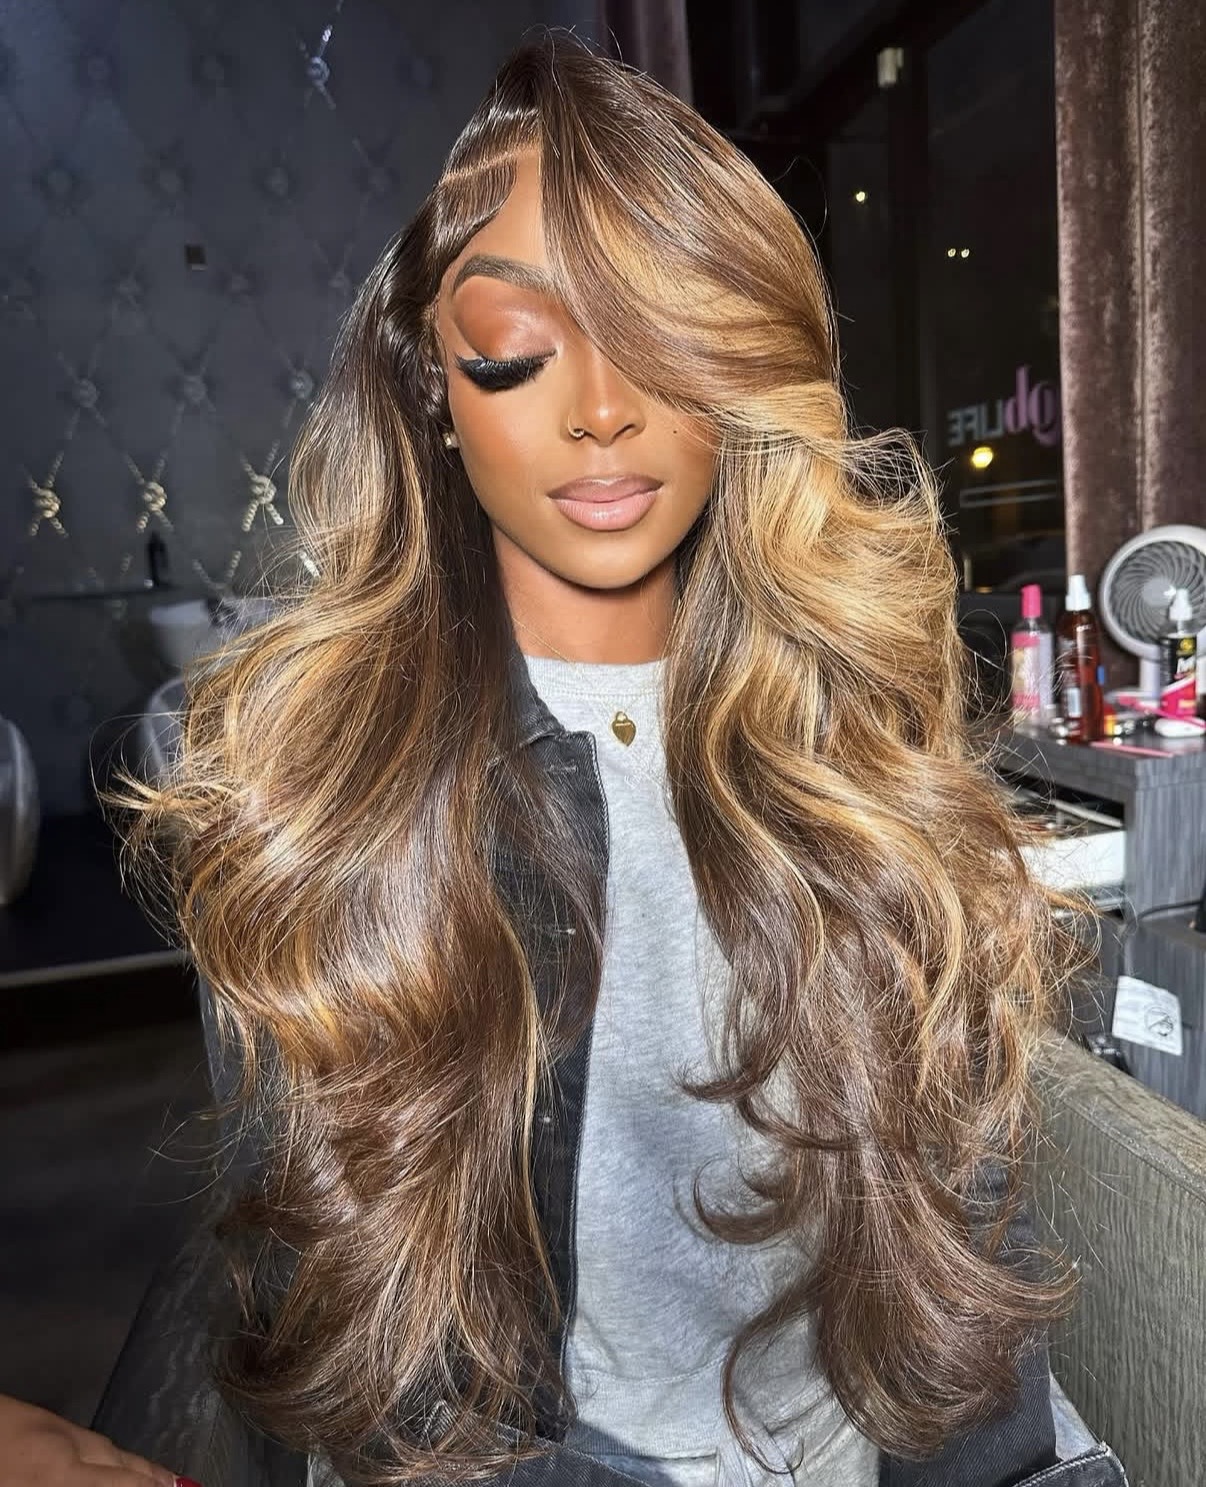
One frequent mistake is attaching extensions too close to the hairline, where the clips can become visible. Another is choosing a set that is much longer or heavier than your natural hair can comfortably support. Although a dramatic length change can be tempting, a gradual increase often blends more easily and places less strain on the roots.
It is also important to remove clip-ins before sleeping, showering, or swimming unless the manufacturer specifically advises otherwise. Sleeping in them can cause tangling and repeated pulling, while moisture and friction may make the hair harder to manage. Open the clips carefully and work from the bottom row upward, supporting your natural hair as you remove each piece.
How to Care for Your Hair After Wearing Clip-Ins
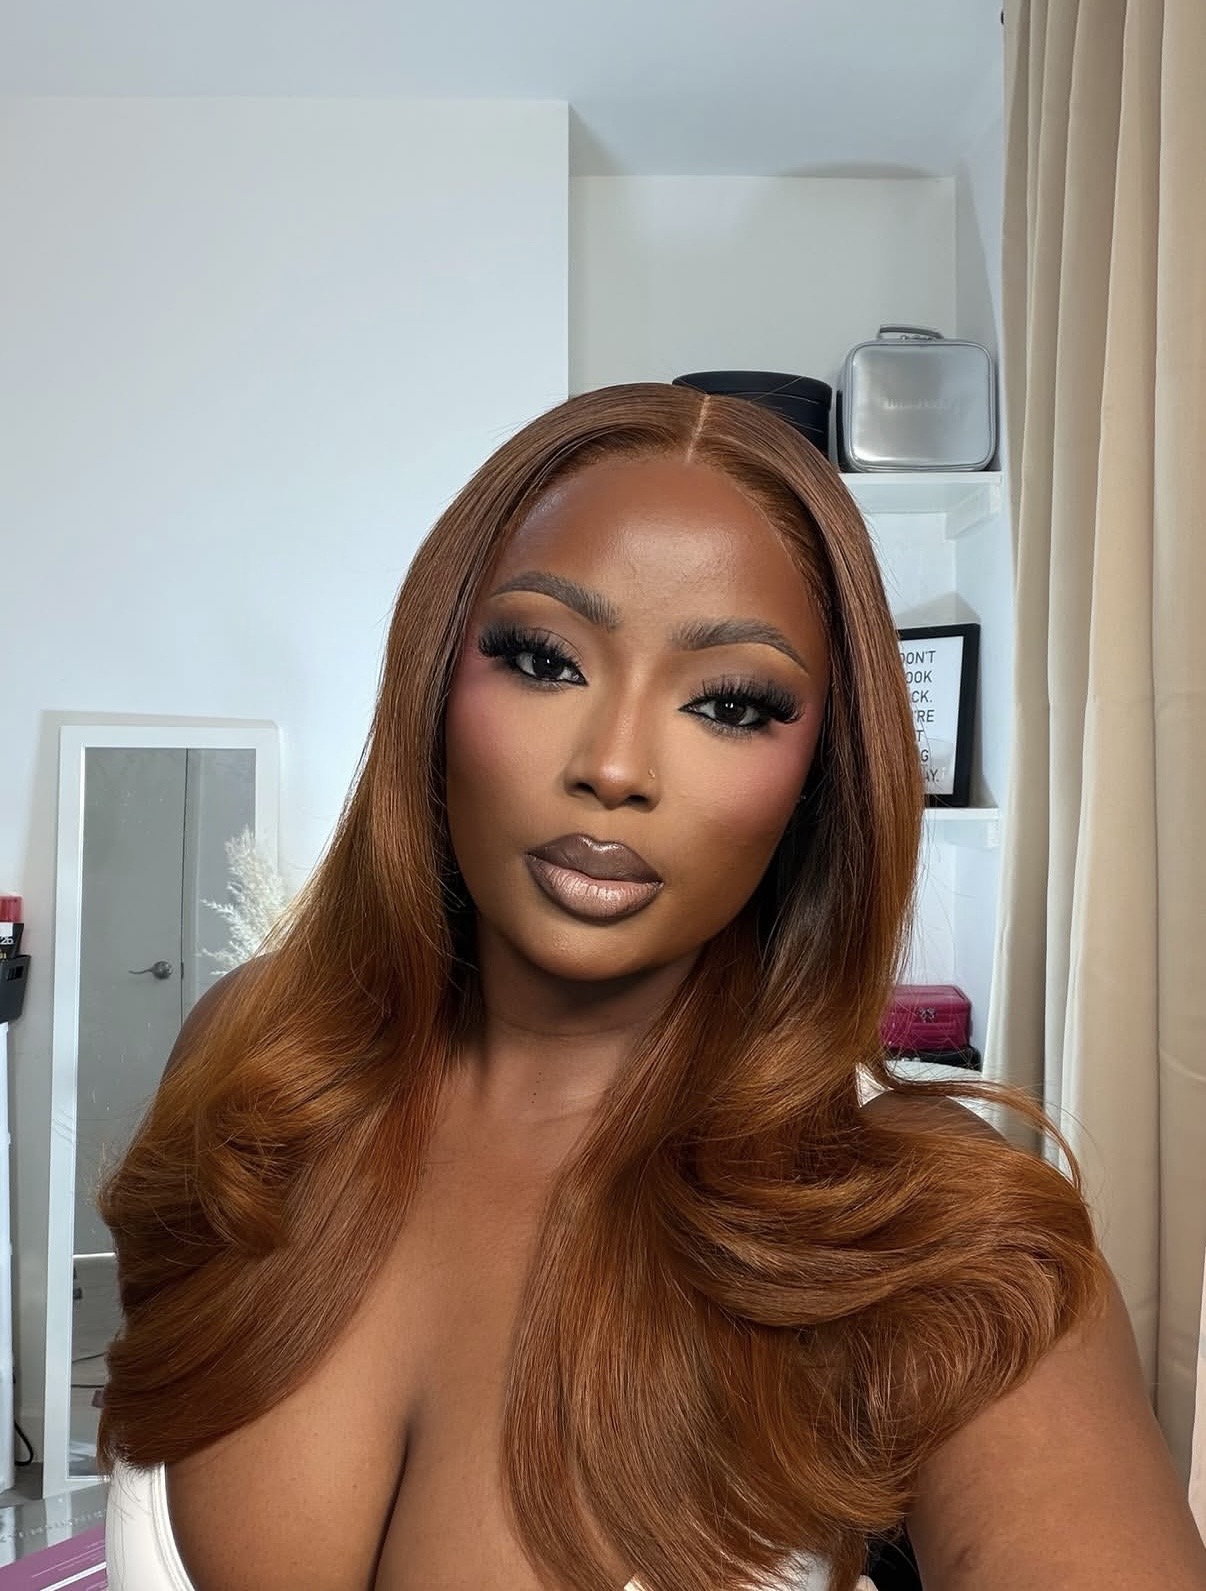
After removing your extensions, gently detangle your natural hair and check your scalp for tenderness. Give your roots a break between wears, especially if you notice soreness, breakage, or thinning around the areas where the clips usually sit. Regularly clean and detangle the extensions according to the care instructions for their material, then store them flat or in a suitable case to prevent knots.
Clip-in extensions offer a flexible way to change your hairstyle, but comfort should always guide the process. Once you understand the placement, blending, and care routine, you can enjoy extra length and volume while keeping your natural hair in good condition.
Featured image: @ivymane_/Instagram
How to Take Care of Hair Extensions: 8 Simple Tips to Make Them Last Longer


